
Make sure to create a stunning wordpress wedding website for your special day.
More than two million people get married in the United States every year. Are you about to join those ranks?
If so, congratulations! Engagement can be one of the most exciting and joyous times of your life. It can also be one of the most stressful.
Between the guest list, the venue, the registries, and the vendors, it can be difficult to organize everything and keep all interested parties in-the-know.
Enter the WordPress wedding website.
When you create one, you instantly have a centralized spot where you can showcase your relationship and pending matrimony. You can also create subpages that allow guests of honor to help in the planning process.
The best part? You don’t have to be an experienced web designer to create a stunning, professional-quality site. WordPress makes the experience simple, allowing you to spend less time behind the computer and more time in the arms of the one you love.
Today, we’re providing a step-by-step guide to help you create your own wedding website on WordPress. Ready to learn more? Let’s go!
1. Choose Your Wedding Website Hosting Plan.
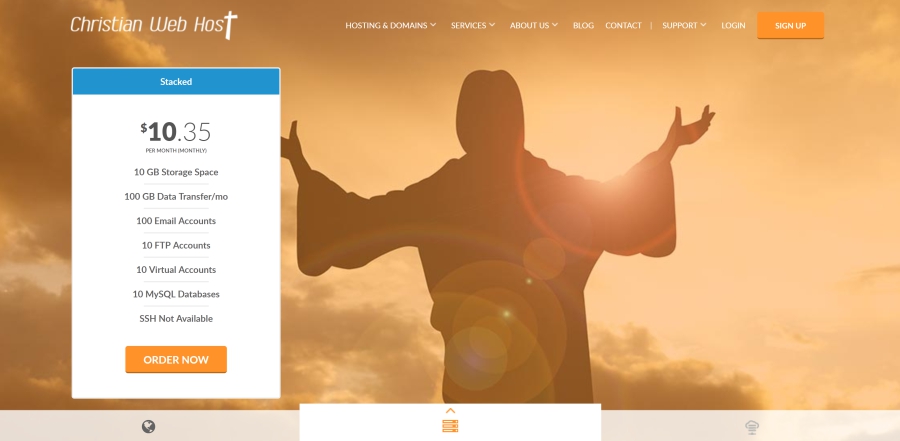
The first step in setting up a wedding website is to choose a web hosting solution. In short, this is where all of your website’s files will live.
One thing to consider is how long you’ll need your wedding website to be live. Use this timeline to help you set your hosting budget.
At this juncture, you should also consider the number of features you want your site to have. As a rule of thumb, the price of each plan will rise as you require more advanced functionality.
Do you plan to upload a lot of videos and images to your site? If so, you’ll need a plan with more gigabytes of storage space and data transfer capability. Conversely, if you plan to use it as a blogging platform to share text-based updates, a smaller-scale package may be sufficient.
2. Register Your Domain
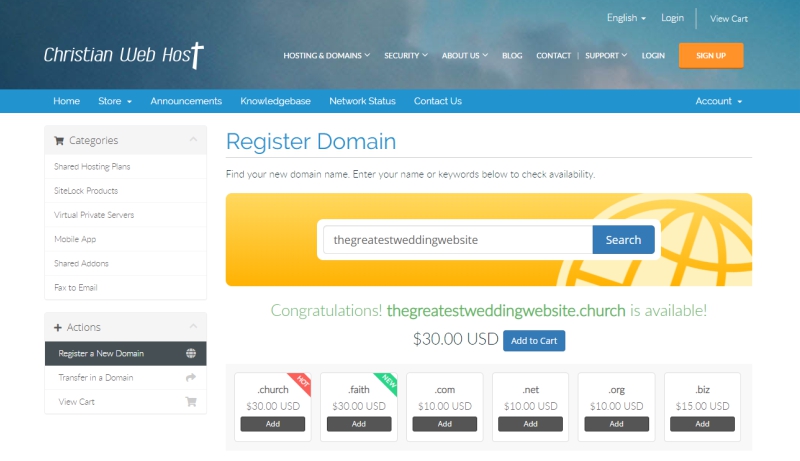
You want your website to be as unique as your relationship.
While you’re setting yours up, you’ll need to register a domain name.
First, pick a top-level domain (TLD) that’s wedding-centric and fits the theme of your big day. Some of the most popular choices in this regard include:
- .wedding
- .dance
- .love
- .family
If you’re religious, you may consider a TLD such as .faith or .church. Use .diamonds for a glitzy reception or keep the focus on your honeymoon with .voyage!
Once you’ve found a solution that fits the bill, the real fun part starts: deciding on your domain name!
You can take a few different routes.
For a traditional approach, stick to the classic “name + name” domain. This makes it easy for guests to find and remember your site. To this, you can also add the year and location of the nuptials, which can come in handy for a destination wedding.
Feeling creative? Or, did another couple already claim your names? You still have plenty of options.
One trend is to turn your wedding into a catchphrase!
Inspired by the popular wedding hashtags floating around Instagram, this is a sweet and memorable play on words. For instance, someone with the last name “Nee” might register “DownonBendedNee.”
Once you’ve secured your spot on the web, turn your catchphrase domain into a hashtag and encourage wedding guests to tag it in their posts about the big day.
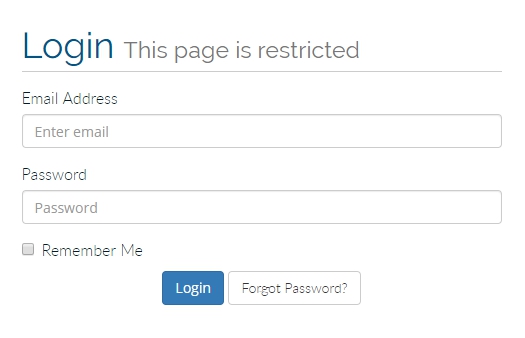
3. Login to ChristianWebHost
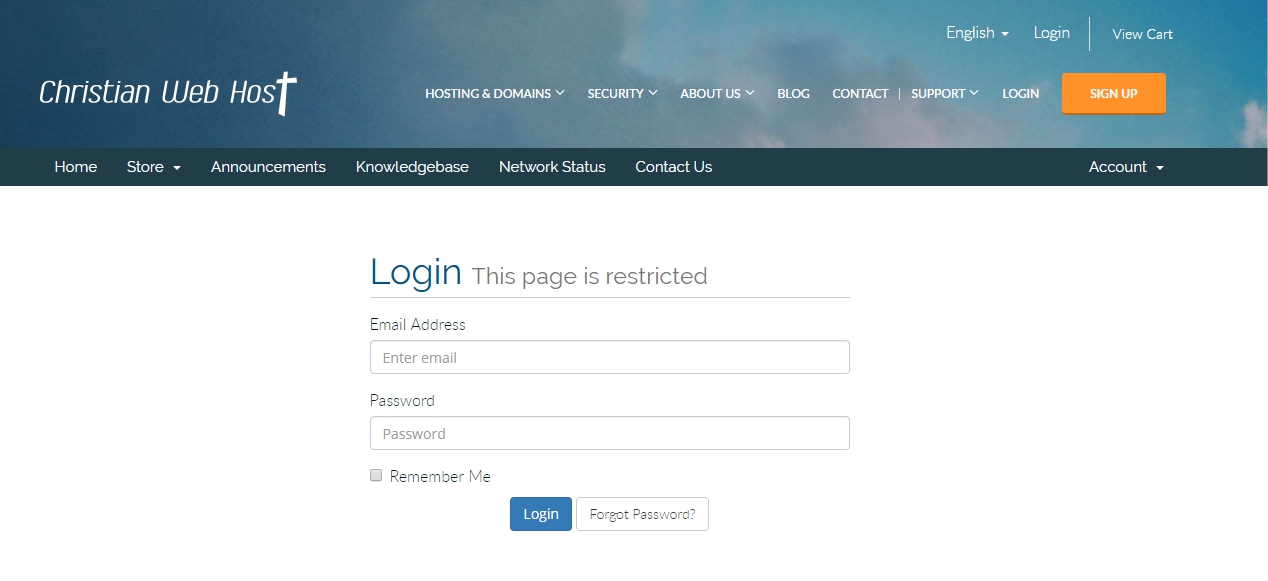
Once you’ve successfully checked out and receiving your ChristianWebHost welcome email, you can login to your cPanel for the first time via your Client Area at manage.christianwebhost.com.
To log in to cPanel:
- Go to manage.christianwebhost.com/clientarea.php and enter your login information
- Click the Services block
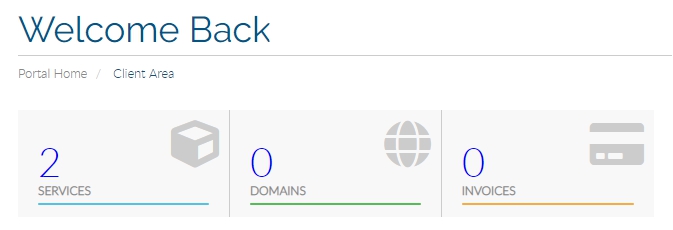
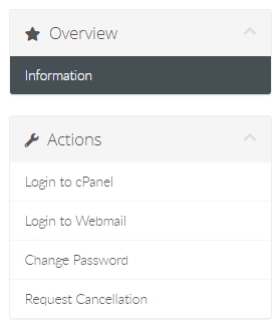
- Click the “Active” Button next to your hosting plan
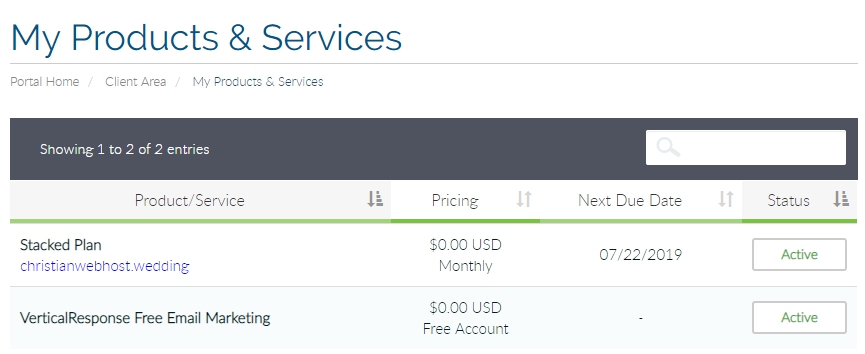
- Click “Login to cPanel”
4. Install WordPress
With your hosting plan and domain name selection behind you, you’re ready to install WordPress.
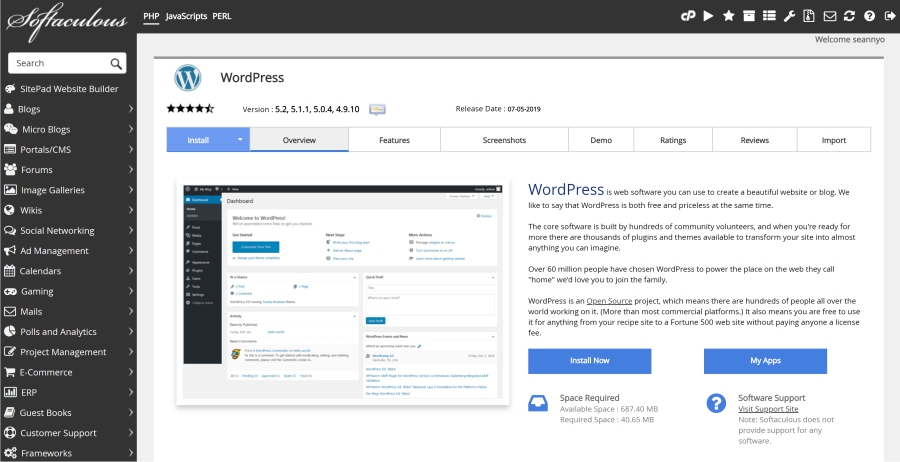
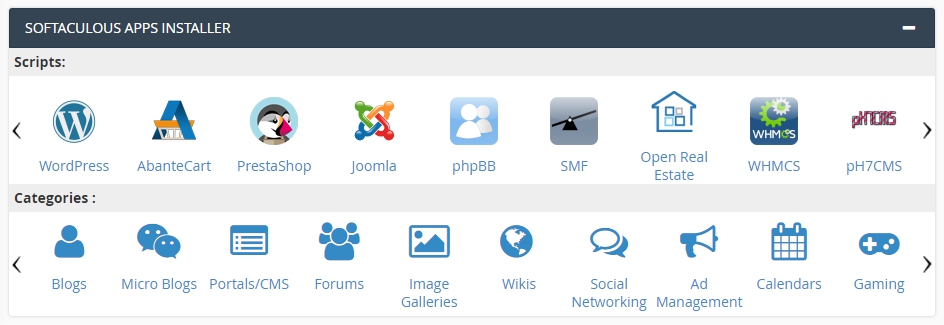
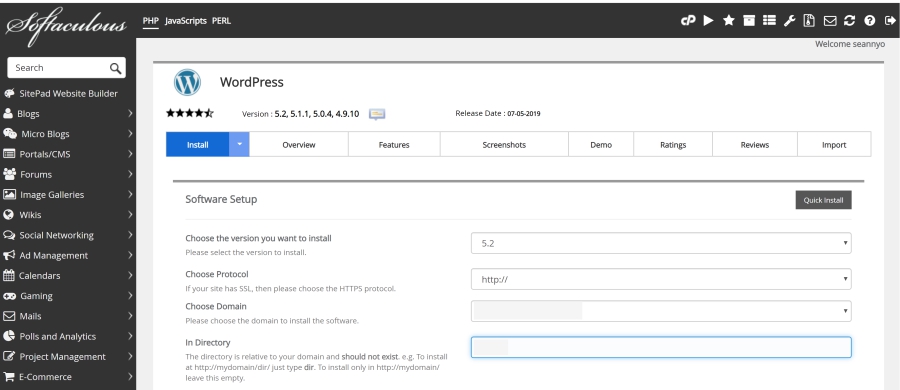
In most cases, this is a one-click step that takes seconds to complete. You can do this when you are logged in to cPanel. In cPanel, scroll down to the Softaculous Apps Installer section and click the WordPress icon.
Before you install the program, you’ll need to enter a few details. After you enter your domain name, you can choose a title for your website. Keep this part simple and to-the-point, using a title such as “Mike and Pam’s Wedding.”
Then, create an administrative username and password. This is what you’ll use to log into your site, so make sure it’s simple and easy to remember (but hard to guess). You’ll also enter your associated e-mail address here.
Once you agree to the WordPress terms, you’re up and running. It’s time to make your site your own.
For quick access, type your domain name into your search bar, followed by “/wp-admin.” This will take you to the WordPress login page. Once you enter your login details, you’ll see your administrative dashboard.
From within the dashboard, you can install WordPress wedding themes, add plug-ins and create posts and pages all about the event.
5. Find and Install the Perfect Theme
Every couple is different, with its own style and flair. When you want yours to shine through on your website, deciding on a wedding theme is key.
Put simply, your website’s theme determines how it looks. From font styles to design details, it’s the face of your site.
Going for an upscale feel? Find an ornate and fancy theme that oozes class.
Planning to host a casual, laidback party? Look for themes that are expressive and playful.
Searching for Premium Themes

At the end of the day, your website theme sets the tone for the rest of the wedding and gives visitors a taste of what they can expect when you tie the knot. In addition to finding one that matches your desired aesthetic, also take into account the features available on each.
For instance, some include wedding countdown clocks, guest books or integrated calendar functions that make planning a breeze. Others have more advanced photo compilation capabilities and recording options.
Start by checking out the free themes provided by WordPress. These often feature all the tools and capabilities you need. If you’re creating a site for the sole purpose of keeping your data in one place and sharing a few updates along the way, you can find plenty of options here.
On the other hand, you may want to create a dynamic, feature-rich site that serves as a cornerstone for all your planning tasks. In this case, you’ll need a premium theme that exceeds standard offerings.
Don’t see anything that bowls you over? The following marketplaces provide a greater selection of both paid and free themes:
- ThemeForest
- Creative Market
- ThemeSnap
- TemplateMonster
- WooThemes
A longer list of WordPress theme providers, including site links, is available at this website. Do your research and consider your wedding budget as you narrow down your selection.
Installing Your Theme
Once you’ve found the ideal theme, it’s time to install it. If you’re using a theme from a marketplace, go ahead and purchase it.
Then, you’ll need to download the installable WordPress file associated with the theme. Log into your account, find your theme and download the file labeled “Installable WordPress file only.”
Can’t find this option? In some cases, the file will be hidden within a zipped file, so take a look at your downloads to check.
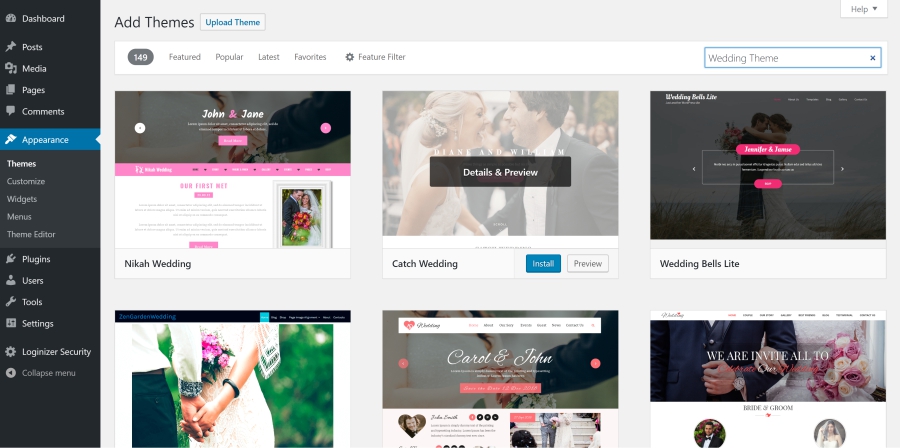
Once you download the file, go back to your WordPress dashboard. Navigate to Appearance>Themes>Add New.
Installing a theme from WordPress itself? You’ll install it here with one click.
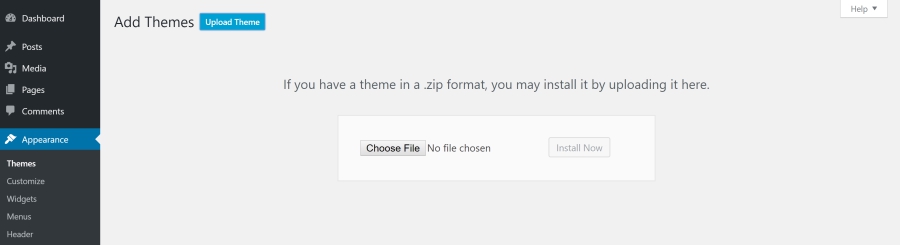
Otherwise, click “Upload Theme” and find your download. The last step is to activate your theme.
6. Customize Your WordPress Wedding Website
Phew. All the technical details are behind you.
Now, it’s time to flex your creative muscles and make your wedding webpage all about you and your partner!
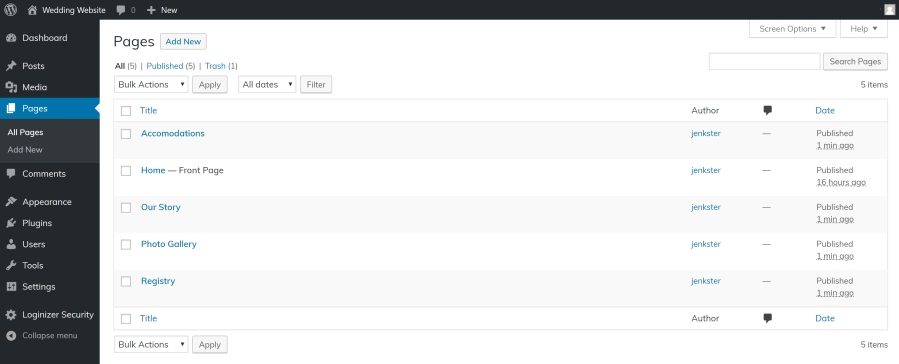
Start by deciding how many pages you want. Usually, these will show up as individual tabs along the top of your site. Alternatively, you may opt to have them under a drop-down menu or even on the side of the screen.
The number and type of tabs that you choose to put on your site is a personal decision. Still, most wedding websites include some variation of the following:
- A story about how you met
- Accommodations for out-of-town guests
- Information on the venue, including directions
- Gift registry information
- A photo or video gallery of your history together
Feeling inspired to share updates about the planning process? You may choose to add a blog page, wherein you’ll post on a routine basis about how things are going. Your theme may even allow guests to RSVP to your wedding via your site, saving you time and money!
Most themes will feature a preset layout, but if you opt for a premium one, you’ll have more flexibility and control over how the pages appear.
7. Explore WordPress Plugins
Most themes will be complete with all the tools and features you need to get up and running. Yet, there might be extra touches that you want to include, as well.
Enter plugins. These are programs that add specific features to your WordPress site. By expanding the functionality of WordPress, they help you create a website that’s full of all the bells and whistles you need.
You can find most of the ones you need from the WordPress dashboard, under the “Plugins” tab. Some are free, while most premium ones will have a small fee.
Some of the most popular wedding-related WordPress plugins include:
Countdown Timers
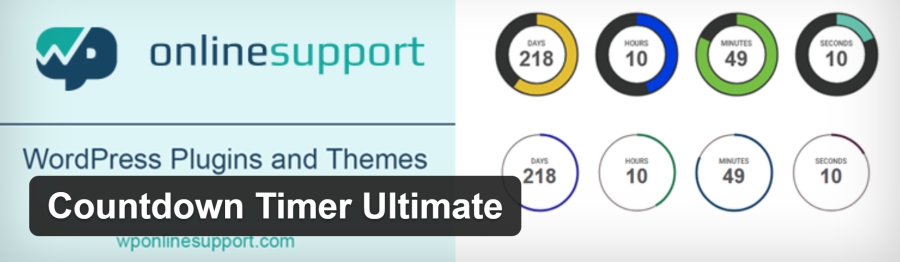
If your theme doesn’t come with an integrated timer, you can install one and add it to your site.
Once you enter the date of your wedding, it will begin counting down the days, hours, minutes and even seconds so you always know how much time you have left to plan.
Display it on your homepage to ramp up anticipation! This is also an ideal way to set planning milestones for yourself. This month-by-month wedding planning checklist is a great way to stay on track.
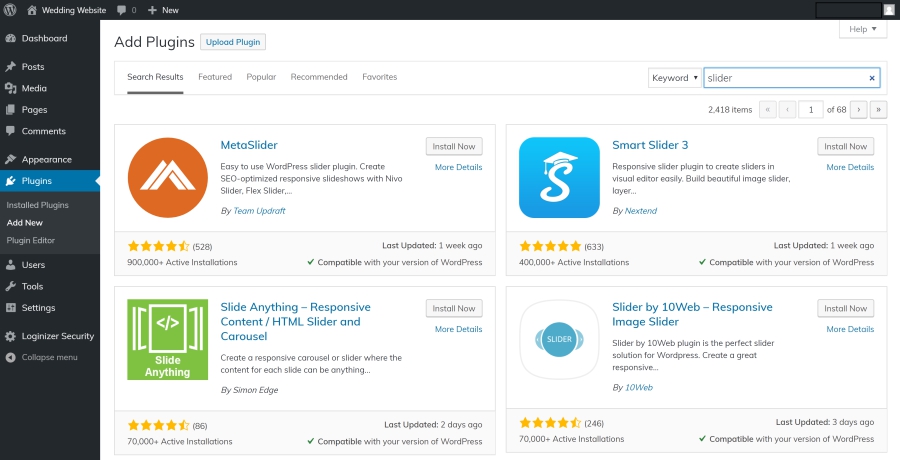
Sliders

Planning to create an image-heavy website? You could run into scaling challenges if your theme doesn’t include a built-in slider.
Install one to help guests flip through your media quickly. You can even set special transitions that turn your pictures into a virtual slideshow. This enhances usability and can make your site quicker to load.
Directions and Mapping

Are you expecting a lot of remote guests to make the trek to your wedding? If so, a mapping tool can come in handy. For instance, you can embed a Google Map onto your site via the “Basic Google Maps Placemark” plugin.
You can even set different icons to represent specific events, such as your ceremony, reception, and after-party. Place these icons at their respective destinations so guests can see how far they’ll need to travel.
Guest Books

It can be helpful to include a guest book plugin if you don’t already have one. This way, guests can still leave their best wishes, even if they’re unable to attend the event.
You’ll get a notification every time someone adds a sentiment to the book, allowing for timely follow-up and thank-yous.
Host Your Wedding Website With Us

As the countdown dwindles and the big event draws near, you have enough on your plate to worry about. This time of betrothal should be spent preparing yourself mentally, emotionally and spiritually for your upcoming union.
You shouldn’t be stressing about keeping guests in the loop and keeping yourself on track. When you create a WordPress wedding website, these details are easy to attend and update.
Looking for a web hosting solution for your wordpress wedding website? We’d love to help.
We offer comprehensive monthly or yearly plans to meet any timeframe or need. In addition, we also provide domain name packages and even advanced VPS hosting.
Sign up for a plan today to get started and experience love at first sight all over again.
